Slide 1 of 3
Slide 2 of 3
Slide 3 of 3
Your Browser Is No Longer Supported. Please use an alternative browser to improve your experience and security.
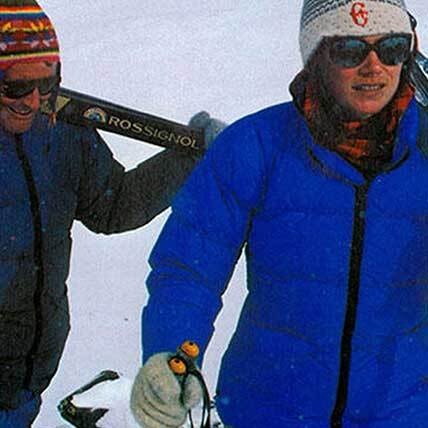
It all started on an Alaskan glacier, where U.C. Santa Cruz students Eric Reynolds and Dave Huntley bonded over a love of climbing and a shared outsider mentality. Named after Marmots, the screeching ground squirrels found gallivanting the high alpines of the West, the Marmot Outdoor Club was born. This “club” was a loose and welcoming collective for oddball mountain misfits that didn’t quite fit in any one box, but shared a love of the outdoors. Joining was simple: Bag a peak with a fellow member, and you’re in–for life. No invitation required, anyone was welcome.
It all started on an Alaskan glacier, where U.C. Santa Cruz students Eric Reynolds and Dave Huntley bonded over a love of climbing and a shared outsider mentality. Named after Marmots, the screeching ground squirrels found gallivanting the high alpines of the West, the Marmot Outdoor Club was born. This “club” was a loose and welcoming collective for oddball mountain misfits that didn’t quite fit in any one box, but shared a love of the outdoors. Joining was simple: Bag a peak with a fellow member, and you’re in–for life. No invitation required, anyone was welcome.
Some people called us crazy (we were). But radical change takes radical ideas. Fast forward 50 years, and our most “out there” ideas can be found almost everywhere.
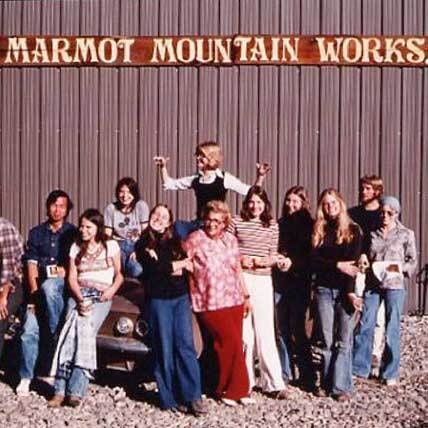
The Beginning: University of California Santa Cruz students, Dave Huntley and Eric Reynolds, meet in Alaska and form the Marmot Mountain Club, named after the social ground squirrels.
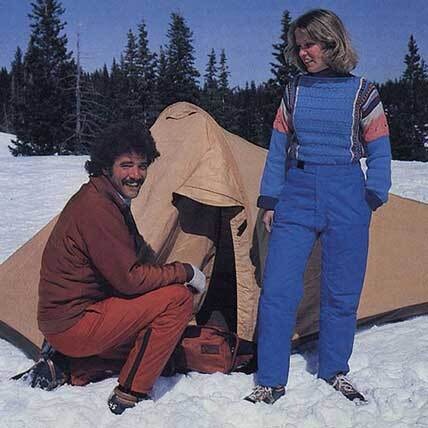
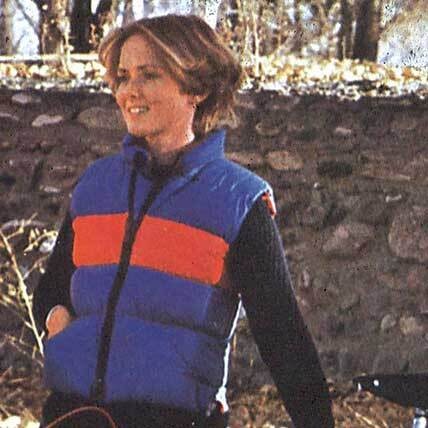
Prototypes: Dave and Eric join forces with Tom Boyd and begin prototyping their first products. Among them are down vests, sweaters, parkas, and down sleeping bags.
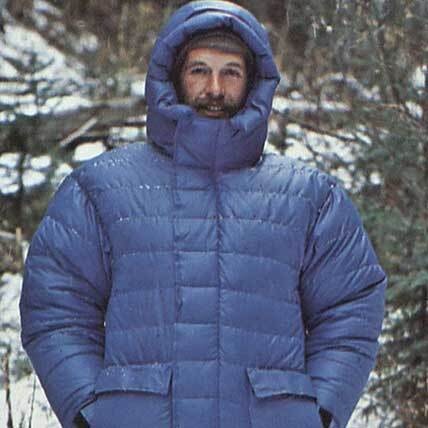
The Big Break: Within a week, Marmot designs and produces the Golden Mantle Parka (108 of them, to be exact) as a custom order for upcoming Clint Eastwood movie The Eiger Sanction.
GORE-TEX® Revolution: We become the first outdoor apparel company to use GORE-TEX in our gear. Our founders sleep in a commercial meat locker to ensure it met their standards.
Feature Flurry: Ahead of our time, Marmot introduces a series of features to our outdoor clothing like zippered underarms, elasticized storm skirts, and VELCRO® sleeve cinching.
Women’s Gear: Marmot pioneers the industry’s first women-specific styles, while being a leader in supporting female athletes, organizations, and causes worldwide.

Lighter is Better: By combining innovative designs with new fabrics, we reduce the weight of every single product in our line and coin the term “lightpacking.”
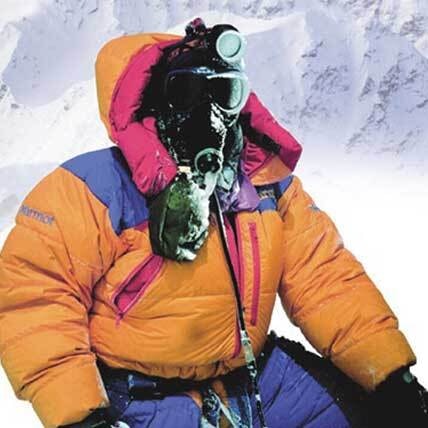
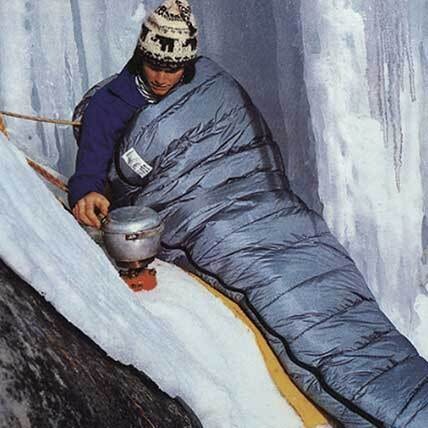
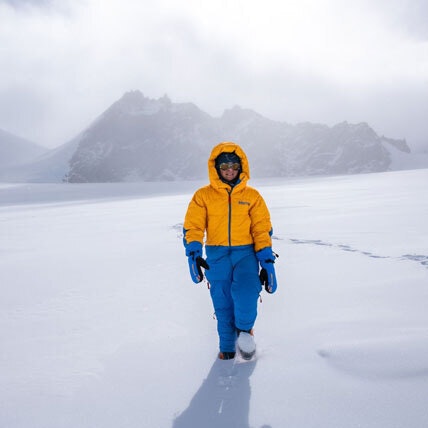
8,000 Meter Suit: Since tested on top of every major mountain in the world, the 8,000 Meter Suit is created for extended stints in really cold environments.
Marmot MemBrain®: Marmot launches this proprietary line of rain gear with the Denali Jacket, which scores another BACKPACKER Magazine win.

The PreCip Jacket: Using MemBrain waterproof technology, the PreCip Jacket launches. Two decades later, it's won more awards than any product in our history.
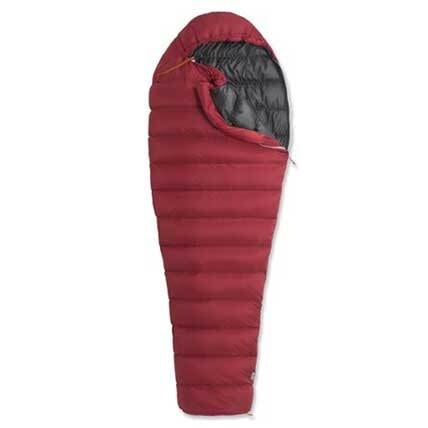
The Atom: Featuring an ultralight design, the first of Marmot’s famous Gas Bag sleeping bags is released. The Hydrogen and Helium would follow.
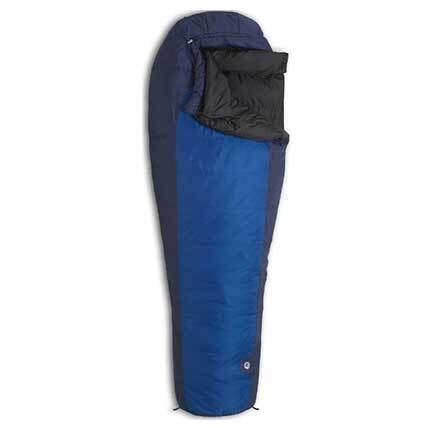
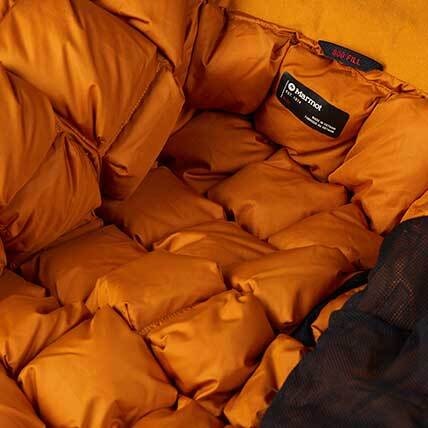
The EcoPro™ Sleeping Bag: Marmot makes one of the earliest sustainably engineered pieces of camping gear using recycled insulation and a PET Polyester shell.
The Isotherm Hoody: Polartec® Alpha® insulation and a Pertex® Quantum exterior come together in this insulated jacket that captures the ISPO Gold Award.
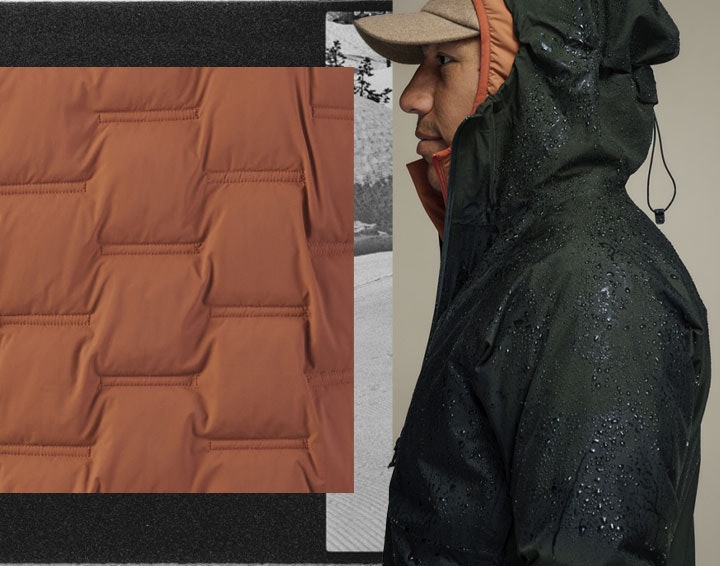
A Better Way to Warm: We partner with 3M to launch Featherless insulation, a culmination of 2 years of scientific testing to replace natural down.
The Evolution of Dry: Marmot releases the EVODry Collection, a leading waterproof technology with an eco-friendly production and upcycled fibers.
Innovation in Insulation: WarmCube™ launches as the warmest insulation technology ever made, plus gets the West Rib Parka the ISPO Gold Award.

Now Available in Green: We give the PreCip rain shell, a BACKPACKER Gear Hall of Fame Award winner, a sustainable upgrade with PreCip ECO.
WarmCube Expansion: Our new Gallatin 20° Sleeping Bag earns the ISPO Gold Award, plus we supercharge our 8,000M Suit with WarmCube technology.
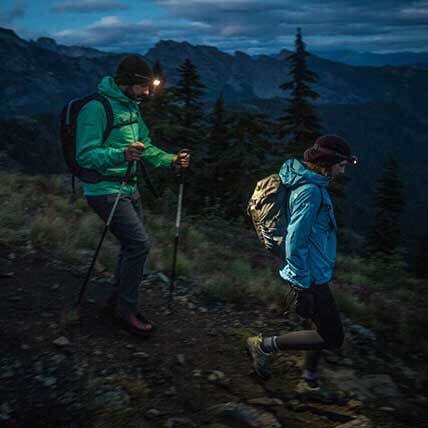
Get your next adventure started.
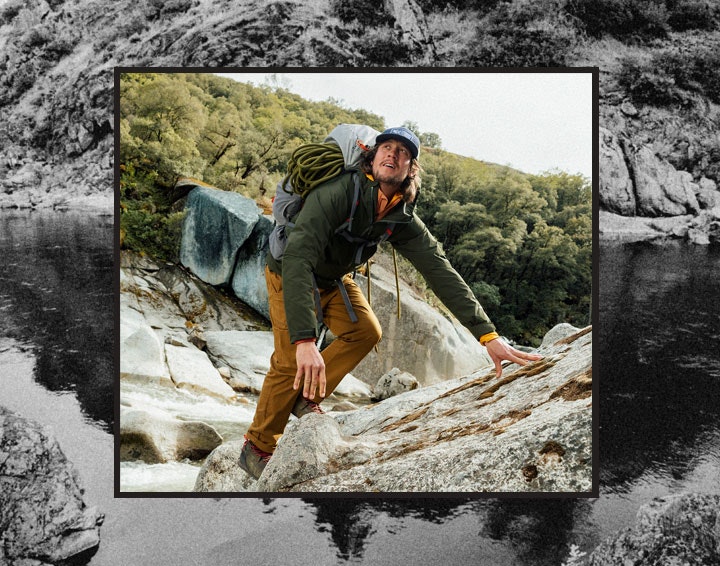
Let's geek out on out latest tech.
Continue with chat using the message bubble


